Sub-Total $0.00
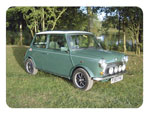
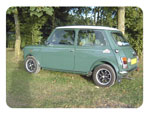
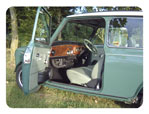
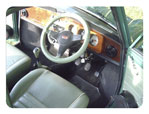
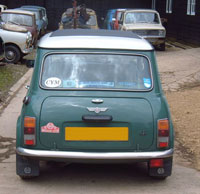
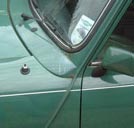
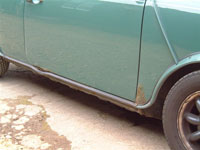
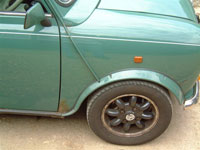
1996 Cooper 35 Limited Edition Anniversary Model
Case studies
Initial Appraisal of Work
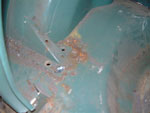
Sadly a copy book case of galloping rust. Although outwardly this car appeared to have only local areas of corrosion, it was actually much more serious. We discussed these problems with the customer and prepared an estimate for the work.
On first assessment of the car the usual issues that tragically affect all Minis, all the way through the cars history, were identified and an agreed schedule of work was defined with the client:

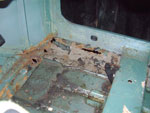
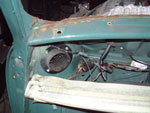
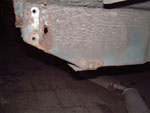
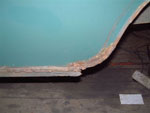
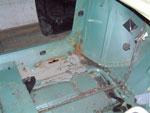
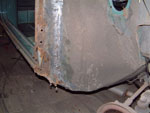
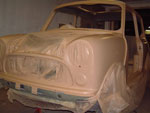
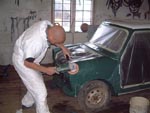
Stage 1 – Stripping the Car
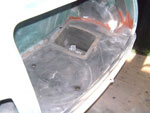
The car was stripped of all soft interior trim, glass chrome, bright work and exterior fittings. Next all of the corroded panels were cut off the body. Any remaining associated corrosion was then sand blasted back to bare metal.
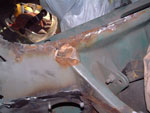
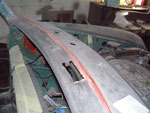
Stage 2 – Replacement of Body Panels
The following body panels were replaced with genuine Rover/Heritage parts including:
- RH & LH front wings
- RH & LH ‘A’ panel
- RH & LH flitch repair
- Windscreen scuttle panel
- RH & LH scuttle closing plates
- RH & LH door step
- RH & LH outer sills
- Repair and re-skin RH & LH doors
- RH & LH rear wheel housing
- RH & LH rear wings
- RH & LH boot corner repairs
- RH & LH rear valence closing plates
- Rear valence
- Full boot hinge rail
- 6 x external seam cappings
- Top dash rail
- RH & LH full length inner seals
- RH & LH heel board ends
- RH & LH companion bin closing plates
- RH & LH inner sill stiffeners
- Rear boot floor / rear seat pan skin
- Battery box
- Local repairs to rear floor pans
- Battery cable protector
- Boot lid
- 4 x floor slinging shoes
- RH & LH front shock brackets
- Bonnet
Stage 3 – Bodywork Preparation
Attend to any remaining dents and scratches. Fully seam seal all panel joints. Etch prime all bare metal. Stone chip sills, rear wheel arches and under wings. Prime exterior of bodyshell.
Stage 4 – Finishing
Respray exterior of body to include over-painting stone chipped areas. Replace coach-lines and decals. Inject all affected cavities with anti-corrosion was. Re-fit with original parts as removed.
The Project
Stage 1
As the stripping and dismantling stage got underway it wasn't long before the project task list needed to be further increased as more hidden problems were identified, these included:
- Slight corrosion to RH & LH headlamp reflectors
- Headlamp column switch stiff in operation
- Fan belt slipping - alternator bolt missing
- Significant wheel bearing noise from LH rear
- Noise from clutch release bearing and possibly transfer gears
- Rear carpet soaked with oil (spillage!)
- Slats breaking away from grille - recommend replacement
- LH side repeater lens damaged
- Alarm switch in boot damaged
- 4 x sleeves missing from wheel nuts
- Rear fog lamp bracket U/S
- RH front wheel arch cracked around rivet hole
- Metal fixing brackets on rear mud flaps corroded
- Rear subframe corroded - probably one year's life left
- Requires new exhaust system from CAT back
After consultation with the client it was agreed to replace all the defective parts so we continued with the refurbishment. The dismantling stage continued.
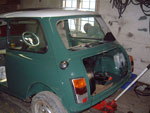
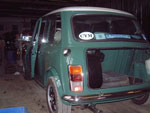
Slideshow: Stage 1 Preparation (10 images)

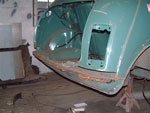
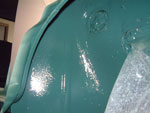
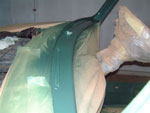
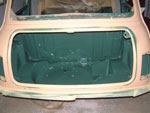
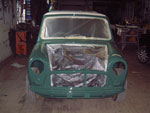
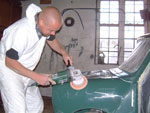
 Stage 2
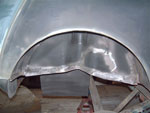
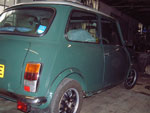
Once the car was finally dismantled the refurbishment could begin, starting with the replacement of body panels which are new Rover/Heritage parts, spot welded to the car. Once all replacement panels had been added to the car the preparation could begin.
Slideshow: Stage 2 Repair (6 images)

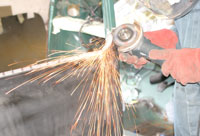
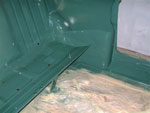
Stage 3
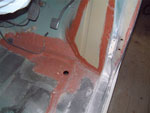
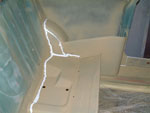
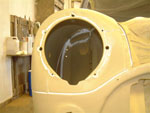
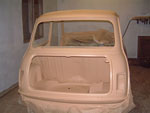
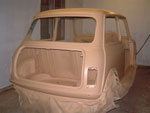
Any remaining corrosion is now sandblasted back to fresh metal. Any dents and scratches are repaired in readiness for the painting process. Fully seam seal all joints, etch prime all bare metal and stone chip sills, rear wheel arches and under wings.
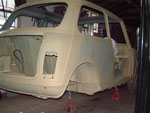
The bodyshell was then primed and undercoated in preparation for finished paint work.
Slideshow: Stage 3 Painting (12 images)


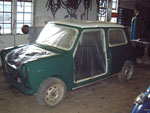
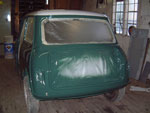
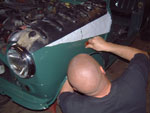
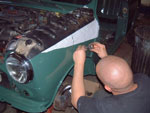
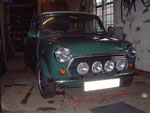
Stage 4
Now the car really started to take shape with a new coat of paint applied and it was time to re-assemble the car.
Once the car was re-assembled we were asked to service and MOT the vehicle before handing over the finished refurbished car.
Slideshow: Stage 4 Re-Assembly (12 images)

Client's Testimonial:
Good Morning to you all at Somerford Minis, just picked up the disc of photos from the Post Office. Amazing !!!!!
It seems to me that there is not much of the original car left. Thank you for doing such a fantastic job on the car.
Well done John.
Best Regards
Martin ...